Easily Launch Your Local PostgreSQL Database and pgAdmin with Docker
Effortlessly Launch and Manage Your Database Environment with Docker


Hey everyone 👋, Couple of days ago I started building an web application using postgreSQL as the database. I found out that it is little bit tidious task to setup up a connection for postgreSQL (Since I am a linux user). So I thought why not use docker to pull up the image of postgreSQL and pgAdmin and then run it in the docker container itself.
So in this blog, I am going to give a step by step procedure to run postgreSQL and pgAdmin in the docker container. And in the next blog I will make a TODO app using postgreSQL.
Prerequisites
There is only one prerequisite to setup postgreSQL on your local machine.
- Basic Docker commands
Before proceeding, you should have Docker installed on your system.
PostgreSQL & pgAdmin
Well before going into the steps to run postgreSQL, let's first understand what is postgreSQL.
PostgreSQL is an advanced, open-source, enterprise-level relational database that supports both SQL (relational) and JSON (non-relational) querying.
On the other hand, pgAdmin is an open source management tool for postgreSQL. It provides an powerful graphical interface that simplifies the creation, maintenance, and use of the database objects. You can write SQL queries directly from the query tool provided by pgAdmin.
So basically, PostgreSQL is the main database and pgAdmin is for managing your PostgreSQL databases.
PostgreSQL setup
Pulling docker images
Now let's setup our postgreSQL database using Docker.
So, first of all, we have to pull the images of the postgreSQL and pgAdmin from the docker registry using the below commands.
docker pull postgres
The above command will pull the postgreSQL database image from docker registry.
docker pull dpage/pgadmin4
The above command will pull the pgAdmin4 image from docker registry.
To see all the pulled docker images. You can run the below command:
docker images
Spinning up the docker containers
Since we successfully pulled the two docker images, now we can move to the next step.
In this step, we will start the postgreSQL database and pgAdmin in the docker containers and also map the host port to the container port so that we can communicate to the container from our machine.
Now run the below command to start the postgreSQL database container. After running the command, you will see bunch of lines printed on the terminal and it is running.
docker run -p 5432:5432 -e POSTGRES_PASSWORD='YOUR-PASSWORD' postgres
Here is the breakdown of the above command :

Now open a different tab in the terminal and also run the below command to start the pgAdmin container in that tab. Here also you will see bunch of lines printed on the terminal and it is running.
docker run -p 8080:80 -e PGADMIN_DEFAULT_EMAIL='YOUR-EMAIL' -e PGADMIN_DEFAULT_PASSWORD='YOUR-pgAdmin-PASSWORD' dpage/pgadmin4
This command's breakdown is also same as above, just it has two environment variables.
Wow!!! Your database and pgAdmin containers are now up and running.
To list out which containers are running, you can open up another tab in the terminal and run the below command.
docker ps
And to stop a container, you can run the below command.
docker stop <CONTAINER-ID>
Connect postgreSQL to pgAdmin
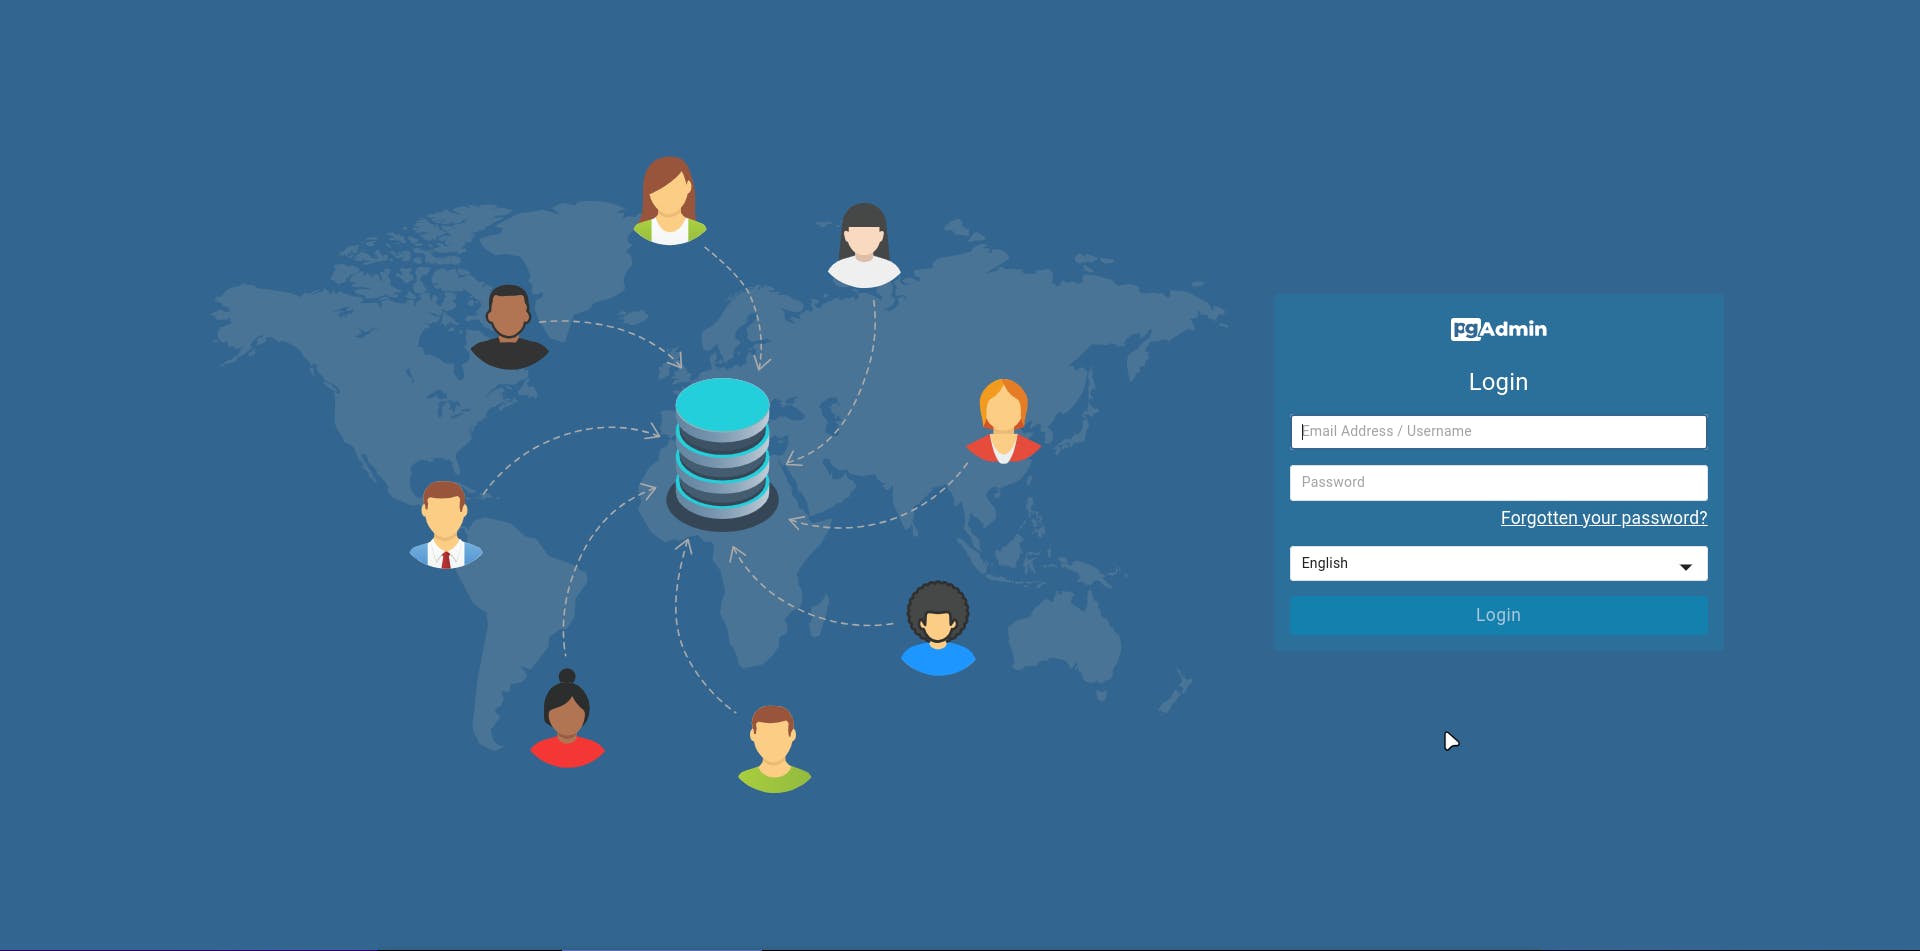
Go to any browser on your desktop/laptop and open localhost:8080 . This will open up the pgAdmin4 on the web.
You will see the below login page of pgAdmin4. Just fill out the login page with the Email and Password which you have given while starting the pgAdmin container.
Now if the login credentials are correct then you will see a page like below.
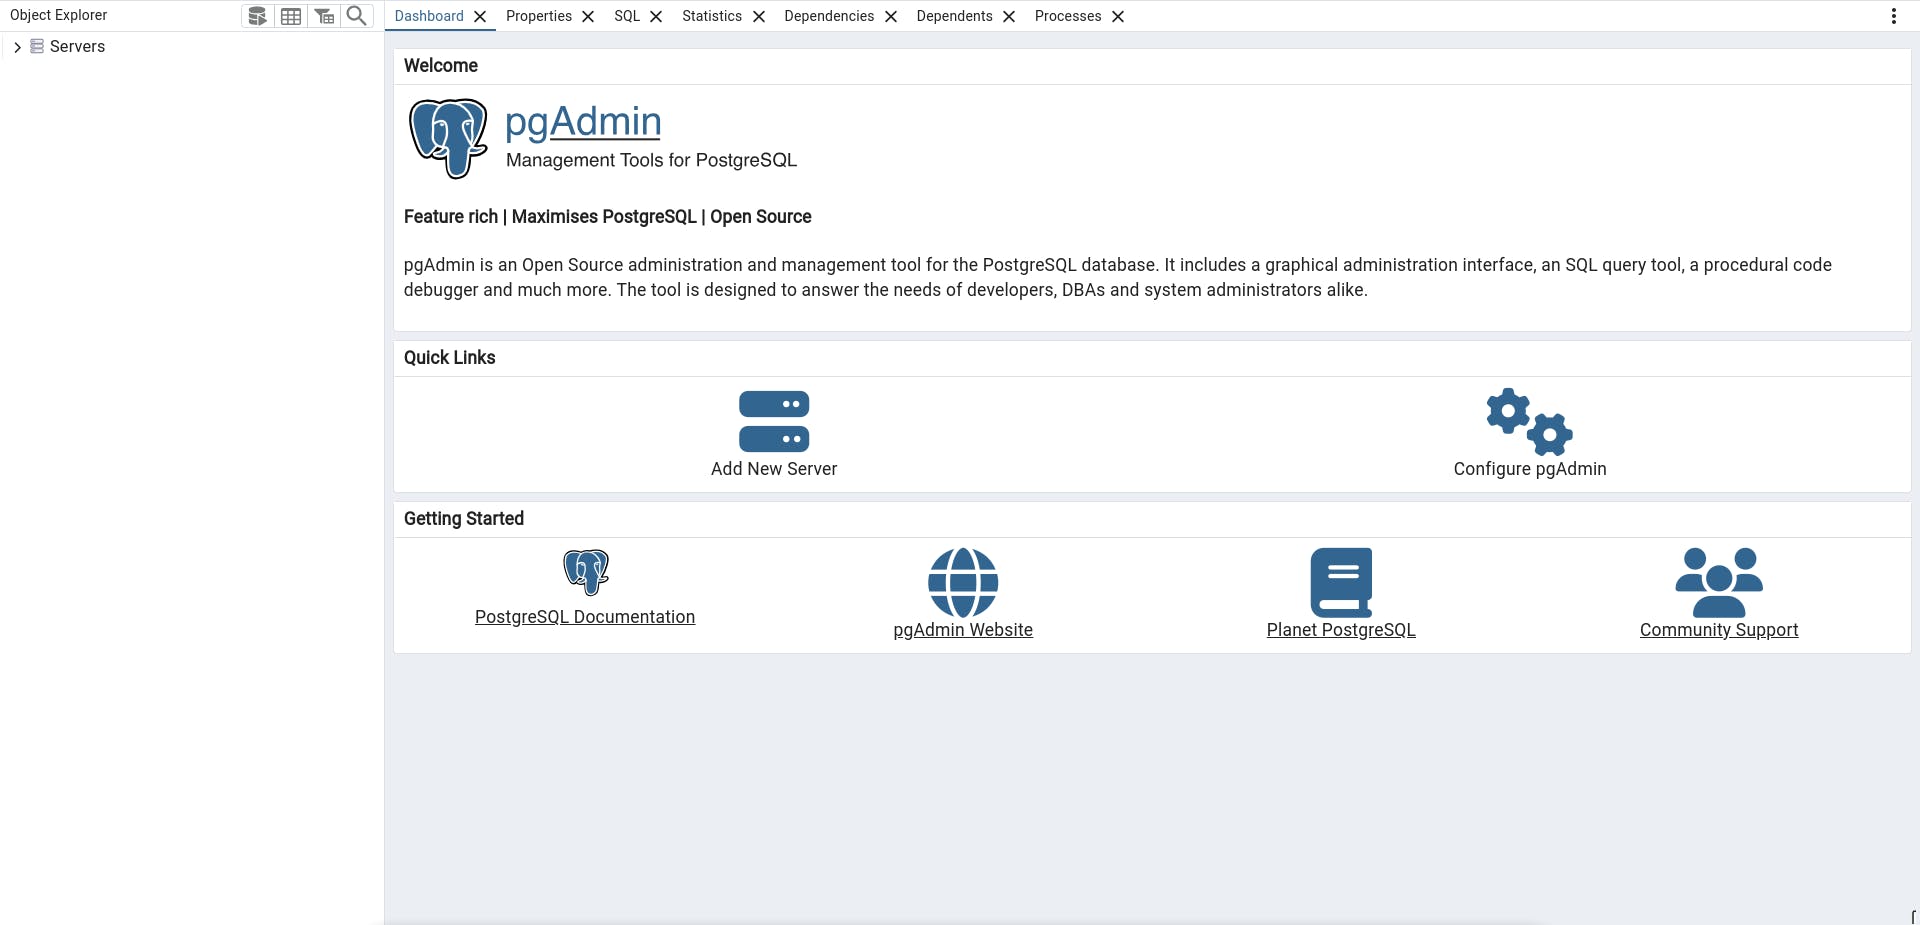
Now click on the Add New Server button inside the quick links section. Then a dialog box will open up like below, which will ask you to setup the database server name and other credentials of the postgreSQL database.
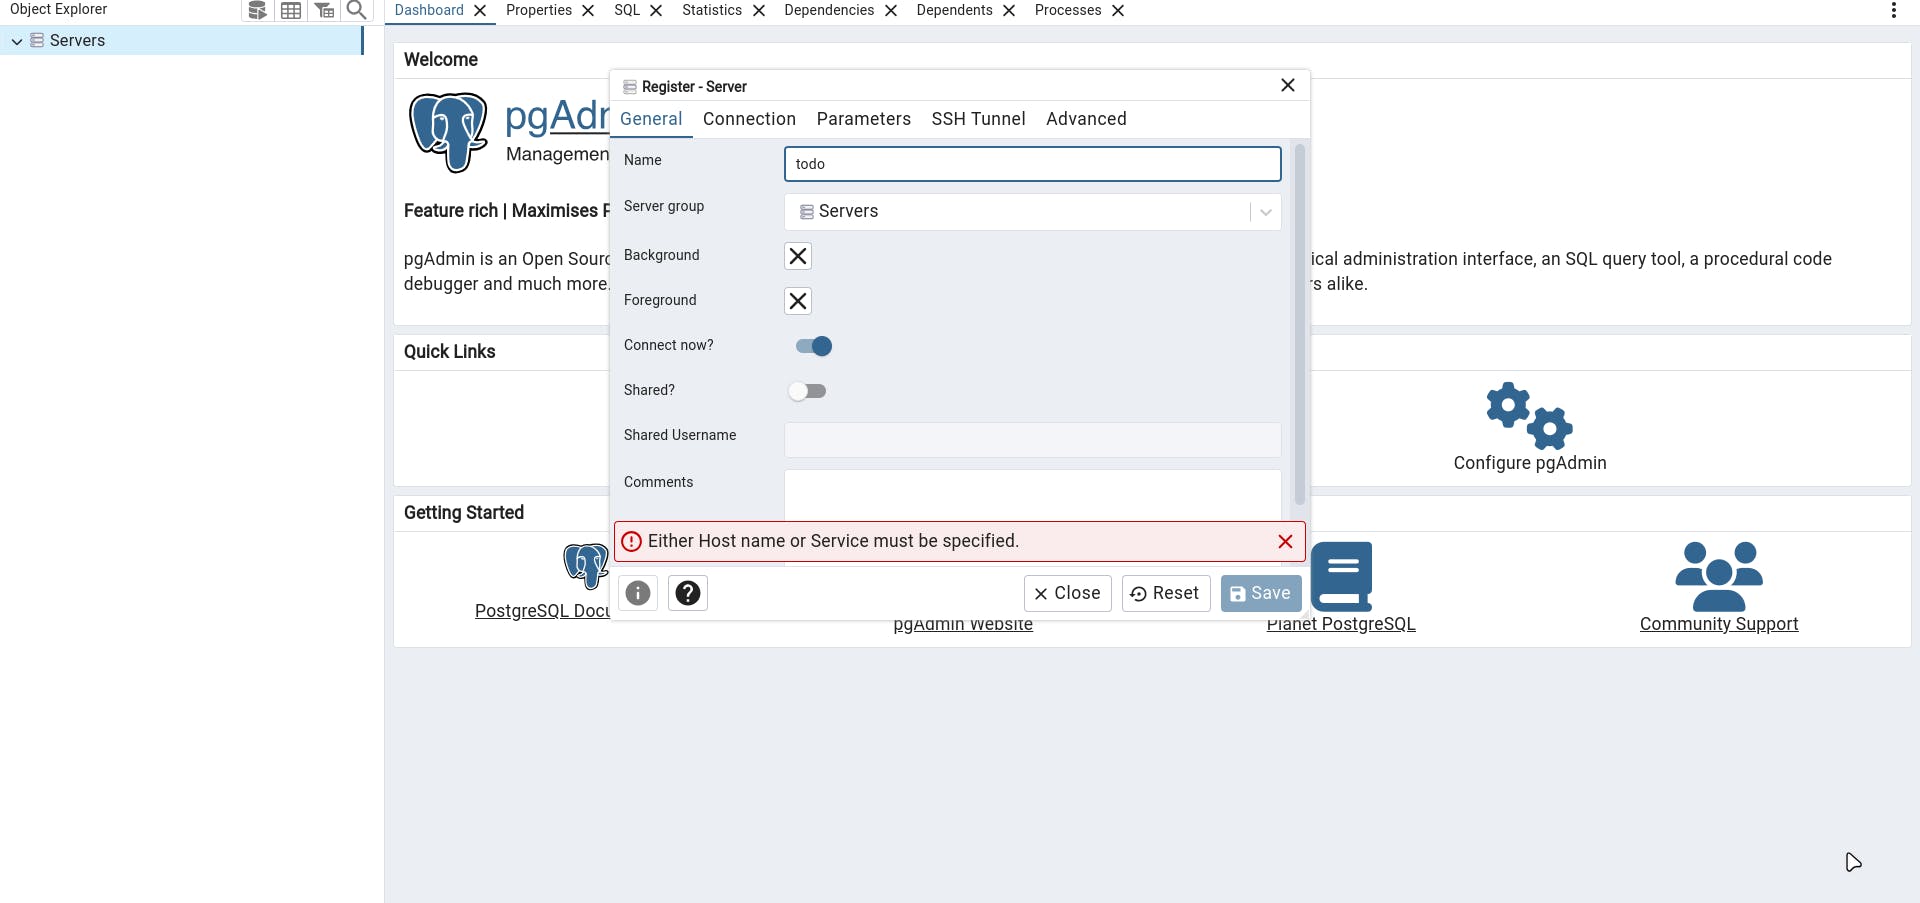
Now give a name to the server. For now I am giving the name as todo. Then go to the connection section of the dialog box, there you will see bunch of fields like below.
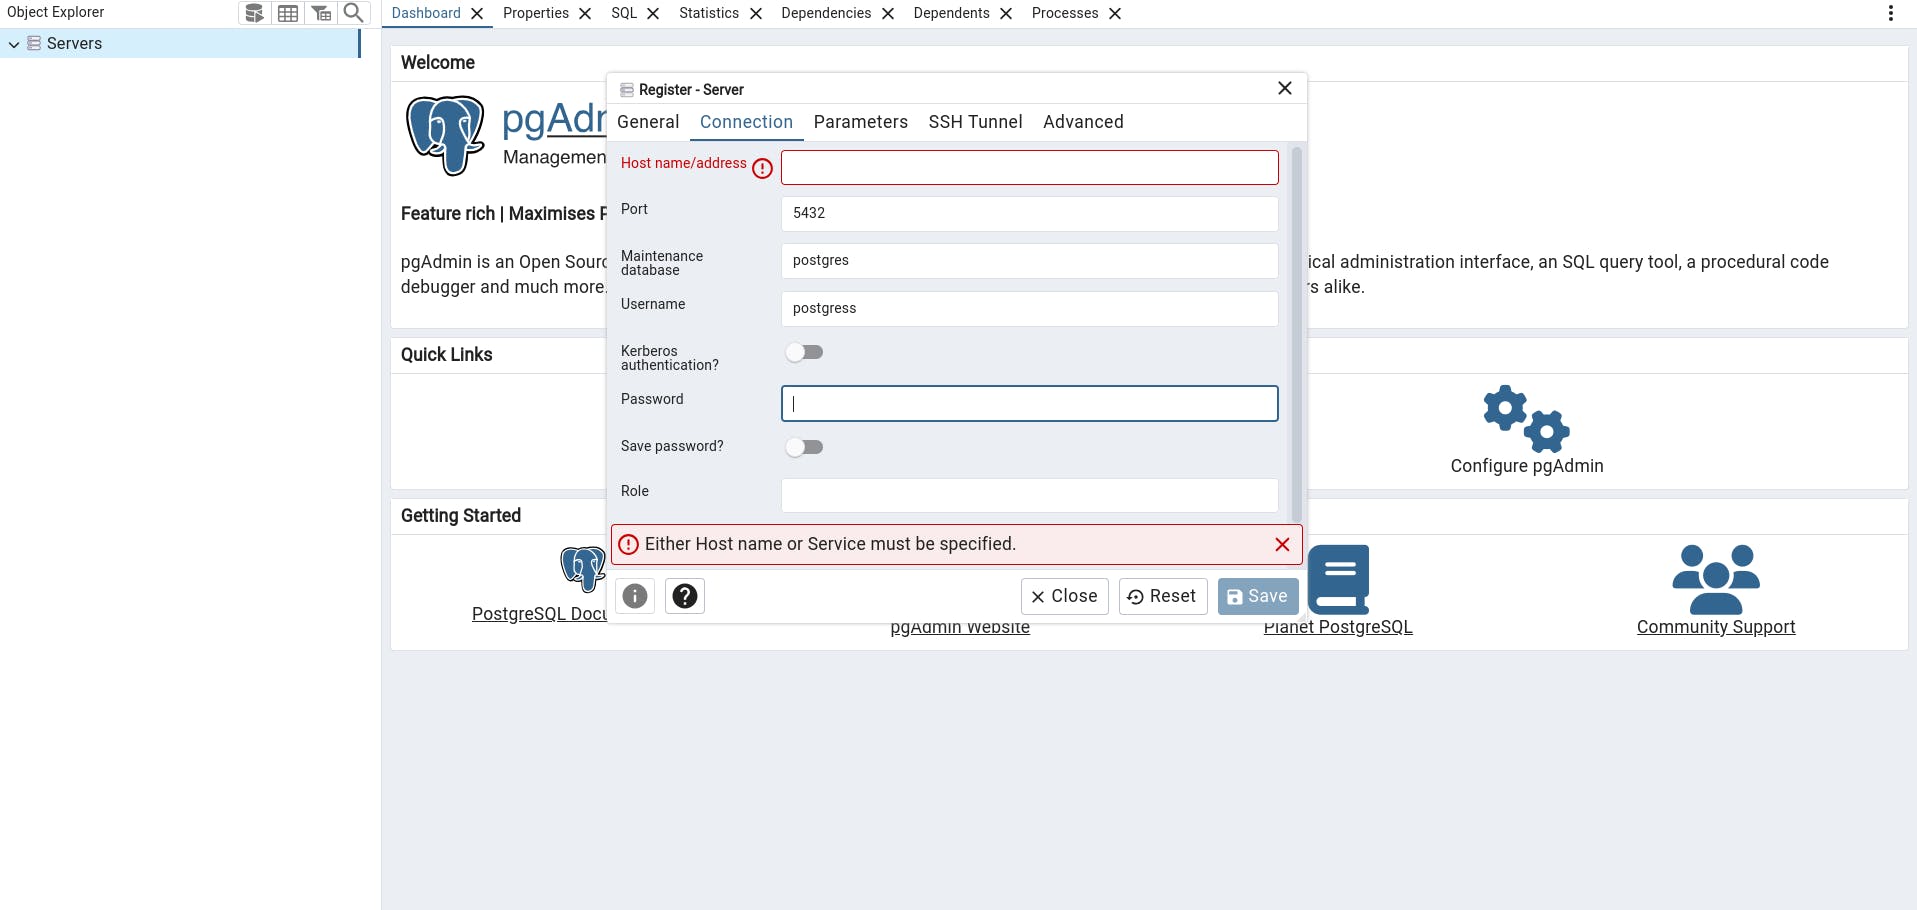
Here you have to fill three input fields.
Host name/address: In this field you have to give the host name i.e. my machine name. For example:

Username: By default, the username is postgres.
Password: Give the password which you have given while starting the postgres container.
Now click the save button and if everything is correct then it will create a server for you and below page will be displayed otherwise an error message will be shown.
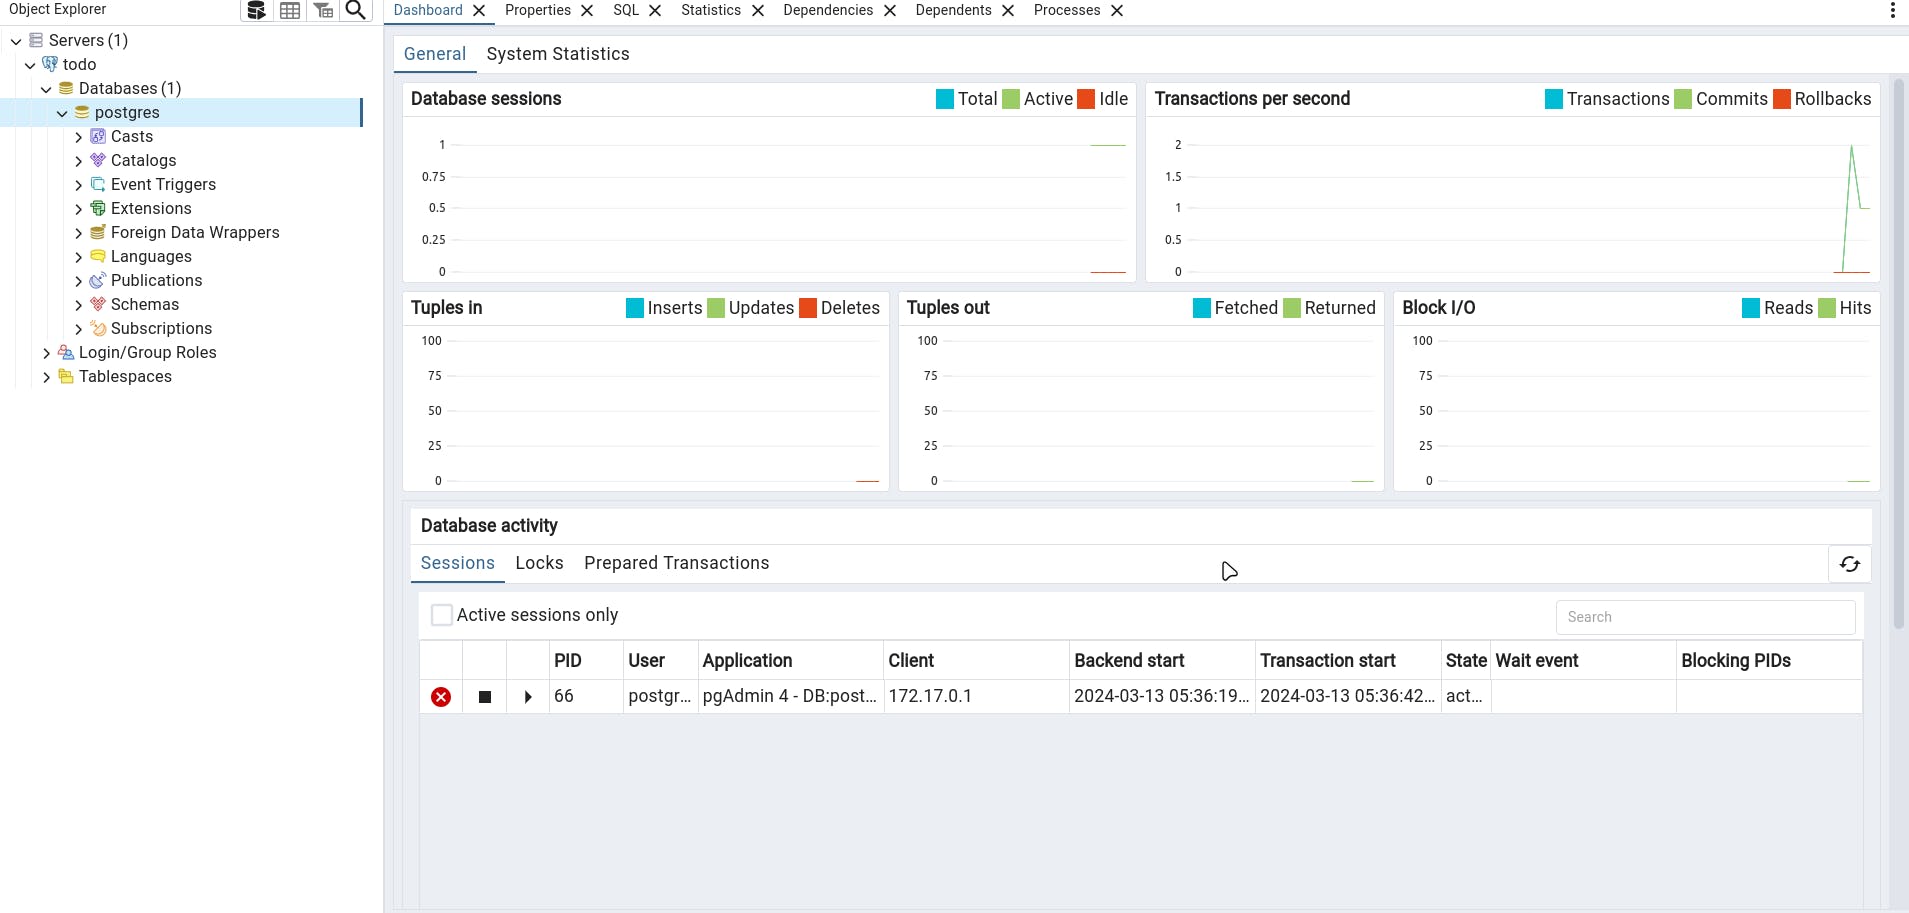
Now you can see, In the left size there is all the options. For writing queries in the database, you can simply right click on the postgres option under the Databases and then select the query tool option. Then a new query page will open up like below.
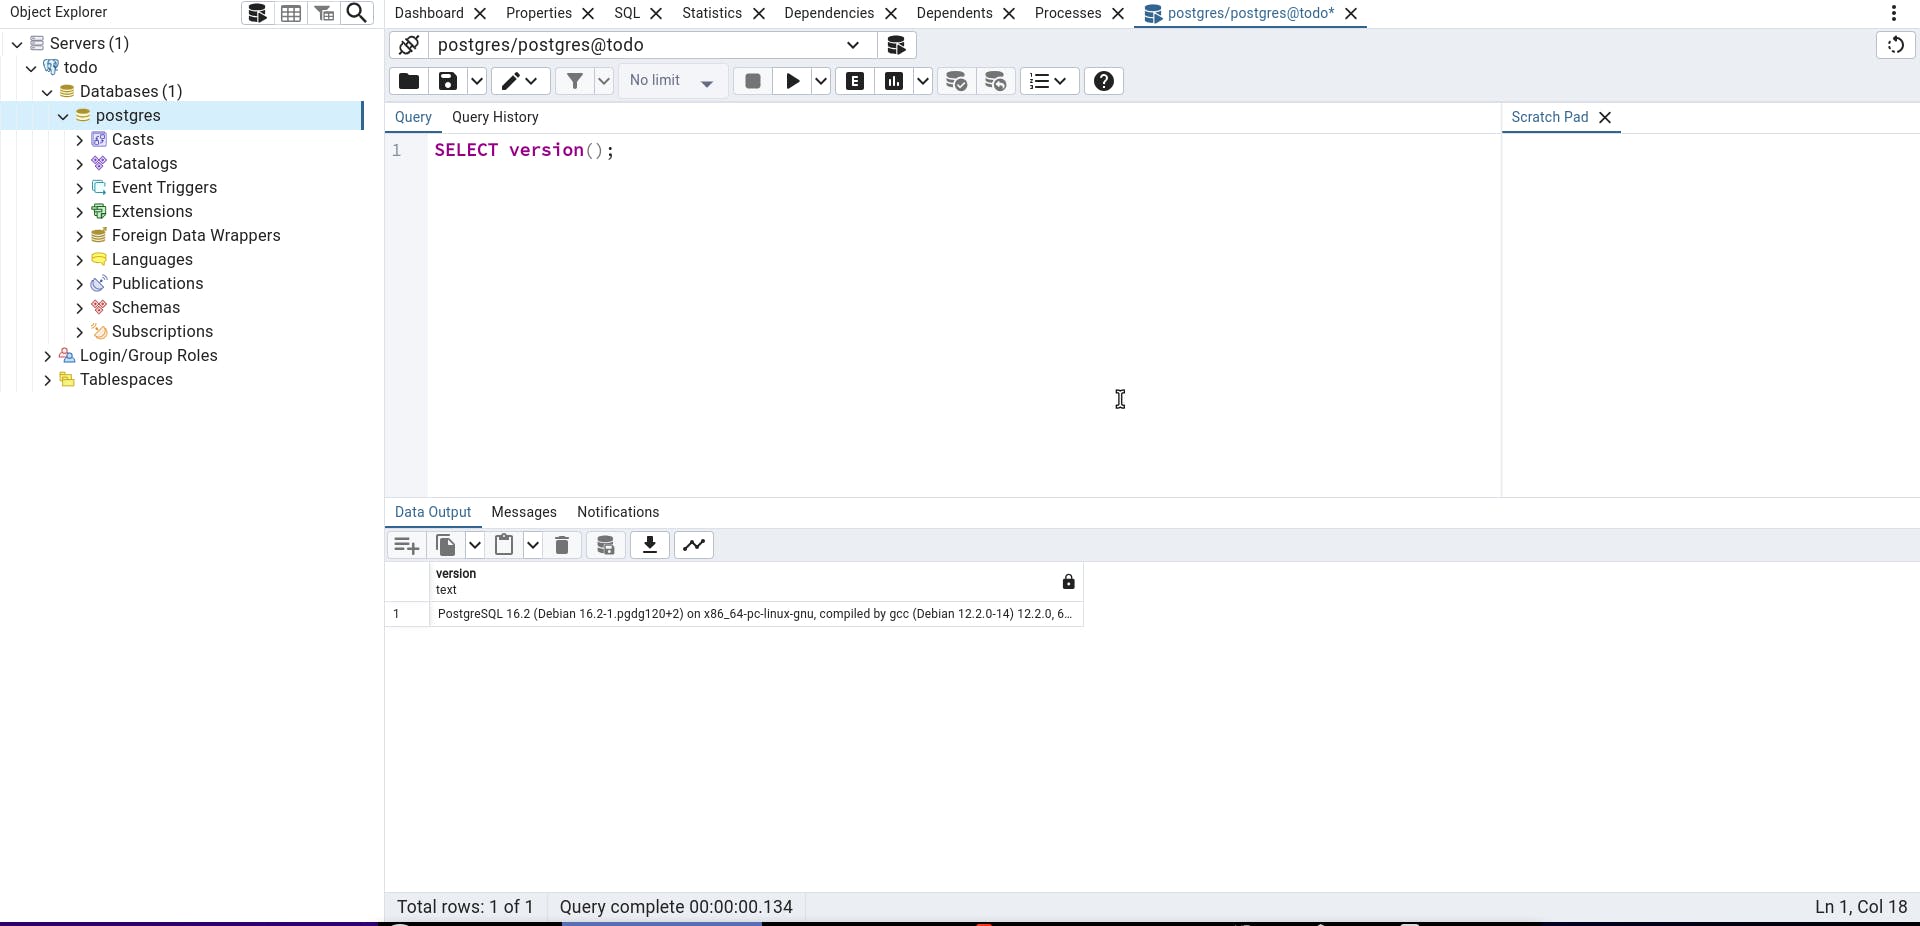
Now you can simply run queries over here and click on the run button to see the output.
Congratulations 🥳 !!! You successfully setup postgreSQL database and pgAdmin using Docker.
In the next blog, I will make an TODO web application using postgreSQL as the database.
Stay tuned for more blogs like this and subscribe to my newsletter.
Bye 👋